
Select Page
How to Use Singing Bowls for Meditation, Stress Relief and Better Sleep: A 7-Step Guide

How to Use Singing Bowls for Meditation, Stress Relief and Better Sleep: A 7-Step Guide

You do not need a studio or a teacher to start. You need one bowl, a soft mallet and a few quiet minutes.

This guide explains how to use singing bowls for meditation, for stress relief and for a calmer evening. We keep the steps simple, so you can try them tonight.

We teach sound practice at Nepal Yoga Home, close to where many of these bowls are made. Let us walk you through it.

What You Need Before You Begin?

Here are some things that you’ll need during your singing bowls meditation:

  • A singing bowl and a padded mallet
  • A cushion or soft ring to rest the bowl on
  • A quiet room and a blanket
  • Five to ten spare minutes

How to Use Singing Bowls: 7 Simple Steps

Here are seven simple steps to use your singing bowls:

Step 1: Choose a Quiet Space and Time

Pick a spot where no one will interrupt you. Silence your phone and dim the lights. Many people prefer early morning or evening, when the house is calm.

Step 2: Set Up Your Bowl

Rest the bowl on a cushion or on your open palm. Keep it steady and away from the edge of a table. Hold the mallet loosely, like a pen.

Step 3: Settle Yourself

Sit tall or lie down. Take a minute of slow breaths before you make any sound. Our meditation page explains simple ways to settle.

Step 4: Strike Once, Gently

Tap the outer rim with the padded mallet. Then listen as the tone rises, holds and fades. Do not strike again until the sound has almost gone.

Step 5: Try Rimming

Press the mallet against the rim and move it in a slow, steady circle, at the pace of a calm breath. If you hear scratching, ease the pressure and slow down. Our Level 1 singing bowl training teaches this in person.

Step 6: Follow the Sound

Let the tone be your anchor. When your mind wanders, and it will, bring your attention back to the sound or your breath. You can also strike on an exhale and let the tone carry the rest.

Step 7: Close Slowly

Finish with a last soft strike. Then rest in silence for a minute or two and notice how you feel.

Match the Practice to Your Goal

Goal Best time Length Style
Meditation Morning 5 to 10 minutes Strike, then rim and focus
Stress relief Midday or after work 3 to 5 minutes Soft strikes with long exhales
Better sleep 30 minutes before bed 5 to 10 minutes Quiet strikes in dim light

How to Use Singing Bowls for Meditation

A bowl gives your mind something to hold. You follow the sound as it rises and fades, so you do not need to “empty your head”. Start with five minutes each morning, and build slowly. For deeper practice, try our 7-hour online meditation course or 10-hour online meditation and breathing training.

How to Use Singing Bowls for Stress Relief

When your day feels loud, take three minutes. Strike the bowl softly and breathe out for longer than you breathe in. This simple reset helps many people pause before reacting. 

Our pranayama page shows breathing methods to pair with the sound. If stress feels heavy, our 14-day stress management retreat gives you time to rest.

How to Use Singing Bowls for Better Sleep
spiritual young man woman practicing yoga indoors 4

Think of the bowl as part of a bedtime routine, not a sleeping pill. 

Try this:

  1. Turn off screens and dim the lights.
  2. Strike the bowl softly three to five times, with long pauses.
  3. Lie down while the last tone fades.
  4. Breathe slowly until you feel heavy.

Keep the bowl out of reach so you do not need to move. For deeper rest, you might enjoy yoga nidra.

What Does the Research Say?

The evidence is promising, but small. A 2016 study of 62 adults found less tension, anger, fatigue and low mood after a one-hour sound meditation. A 2020 randomised study used a giant bowl and found people felt less sleepy afterwards, though a measured test of sleepiness showed no difference. 

A small 2025 university study in young adults reported better sleep quality over eight weeks, but it was not a controlled trial.

So these methods may help you feel calmer. They do not treat insomnia or anxiety, and they are not a substitute for care.

Keep It Safe

  • Keep the volume soft, and never play close to your ears for long.
  • Avoid placing a bowl on your body if you have a pacemaker or other implant, or during pregnancy.
  • Check with your doctor if you have sound sensitivity, tinnitus, sound-triggered seizures or recent surgery.
  • Do not use a bowl when you need to stay alert, such as before driving.
  • See a doctor if sleep problems or anxiety last.

Learn How to Use Singing Bowls With Us

A teacher can fix your touch in minutes. Choose the path that suits you:

If you want longer quiet, try our one-week breathing and meditation retreat, 10-day meditation holiday or two-week meditation retreat in Kathmandu. Start online with our 3-hour online meditation if you cannot travel yet.

Start Today

Now you know how to use singing bowls in seven steps. Our yoga teachers are happy to guide you, and our services and facilities page shows where you will stay. Read what past guests say on our testimonials page, and check the FAQ. 

Contact us with questions, and book your stay when you are ready. You can also add sound to a 1-week wellness retreat or our 21-day wellness training.

Frequently Asked Questions

What if my bowl will not sing when I rim it?

Slow down and use steady, light pressure. A firmer mallet and a little practice usually help.

Can I use a recording instead of a bowl?

Yes, recorded tones work well for relaxation. A real bowl gives you the added feel of the vibration in the room.

Can my family join in?

Yes, share the sound with family members, and keep the volume very low. Supervise children and never place a bowl on them.

Do I need to be a meditator already?

No, the bowl itself makes a good starting point. Beginners often find it easier than sitting in silence.

Can I combine it with yoga?

Yes, many people strike a bowl before or after a class. Our Kundalini meditation page shows another way to pair sound and movement.

5 Singing Bowl Healing Techniques and Their Benefits: A Complete Practical Guide

5 Singing Bowl Healing Techniques and Their Benefits: A Complete Practical Guide

A single bowl, a soft mallet and a quiet room can change the mood of an entire evening. The sound seems to settle in your chest and slow your breathing.

Learning singing bowl healing techniques is simpler than most people expect. In this guide, we explain five techniques, what each one offers and how to practise them safely.

We teach sound healing at Nepal Yoga Home, close to where many of these bowls are made. Read on, then try one technique today.

What Is Singing Bowl Healing?

Singing bowl healing uses the sustained tone of metal or crystal bowls to guide people into deep rest. Many people use it alongside meditation or yoga. 

It supports relaxation and calm. It does not cure illness or replace medical care.

What You Need Before You Begin?

Here are some things that you’ll need before you begin your singing bowl healing:

  • One bowl, ideally with a cushion or soft ring under it
  • A padded mallet for striking and a firmer one for rimming
  • A quiet room and a blanket
  • A little time to sit or lie still first

A few minutes of meditation helps you hear the sound better.

5 Singing Bowl Healing Techniques

1. Striking

This is the gentlest way to begin. Hold the padded mallet like a baton and tap the outer rim, about an inch from the edge. Let the sound fade fully before the next tap.

Benefit: A single clear tone is easy to focus on, so it works well to open and close a session. Light taps also teach you how touch changes volume.

2. Rimming

Rimming is the “singing” technique. Press the mallet against the outside of the rim and move it in a slow, steady circle. With even pressure, the bowl gives a long, continuous tone.

Benefit: The unbroken sound is deeply calming and helps the mind settle. It takes practice, so start slowly and stay patient. Our Level 1 singing bowl training teaches both striking and rimming.

3. Layering Several Bowls (The Sound Bath)

A sound bath mixes bowls of different sizes. Begin with a low tone, add higher bowls and keep the volume soft. People lie down and let the sound wash over them for about 20 to 45 minutes.

Benefit: The layered sound gives an immersive, restful experience for groups. It suits yoga studios and retreats. After deep practice, try yoga nidra for even longer rest.

4. Placing the Bowl Near or on the Body

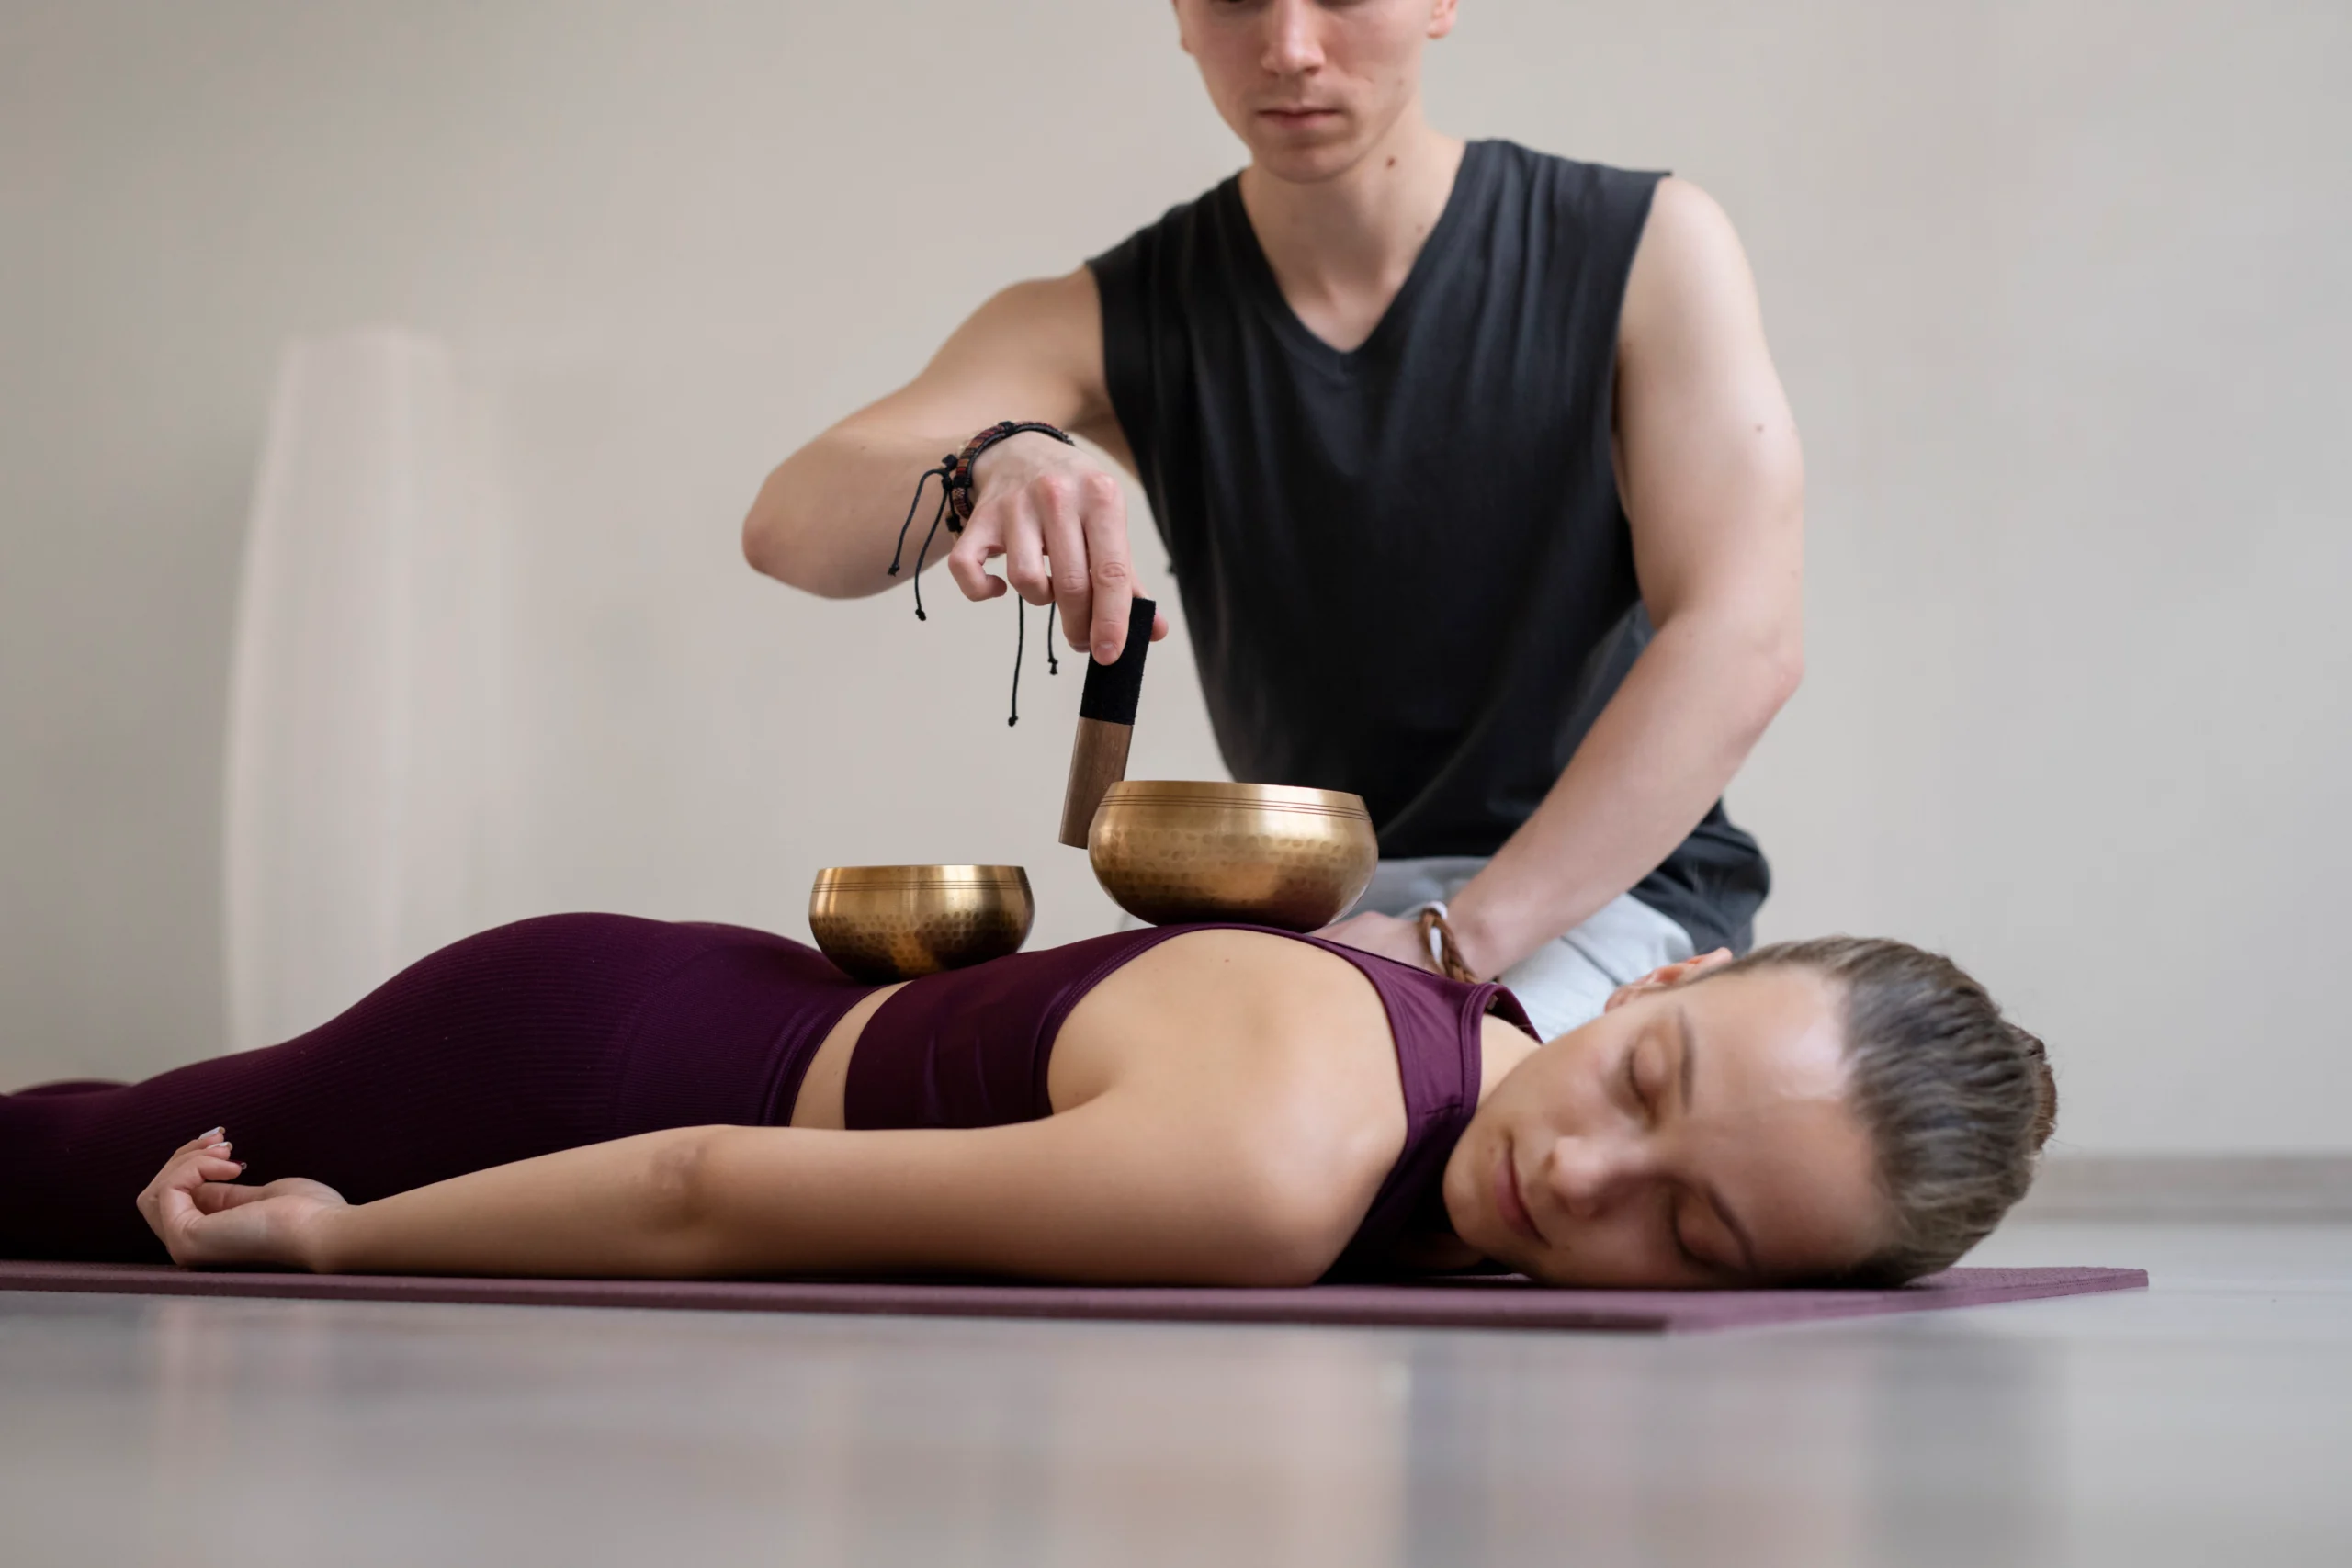
In this technique, a trained practitioner sets a bowl close to the body or rests it gently on a cushioned area, such as the back. The client can feel the vibration as well as hear it.

Benefit: Many people enjoy the felt vibration as a kind of sound massage. One study reported lower heart rate and changes in brain-wave activity during a singing bowl massage. Always ask for consent first. Skip direct placement for anyone with an implanted device or during pregnancy.

5. Voice and Breath With the Bowl

Hum or chant gently as the bowl rings, or breathe out slowly with each fading tone. Some practitioners blend their own voice with the sound of the bowl. You can learn more in our guide to mantra chanting.

Benefit: A long, slow exhale helps you feel calm. Pairing breath with sound builds focus. Our pranayama page explains the breathing side.

Singing Bowl Healing Techniques at a Glance

Technique Best for Difficulty
Striking Opening and closing a session Easy
Rimming Steady, calming tone Medium
Sound bath Groups and long relaxation Medium
Bowl on or near the body One-to-one sessions Advanced
Voice and breath Meditation and yoga classes Easy to medium

What Does the Research Say?

A 2016 study of 62 adults looked at a one-hour singing bowl sound meditation. After the session, people reported less tension, anger, fatigue and low mood. Those who were new to this kind of meditation felt a bigger drop in tension.

Please read this with care. The study was observational and had no control group, and the session also used gongs, crystal bowls and other instruments. More research is needed. For now, it is fair to say these singing bowl healing techniques may help many people feel calmer.

Safety First With Singing Bowl Healing Techniques

Sound is gentle for most people, but not all. 

Check with a doctor first, and tell your practitioner, if you have:

  • A pacemaker or other implanted medical device
  • Recent surgery
  • Sound sensitivity, tinnitus or sound-triggered seizures
  • A pregnancy, especially in the first and last stages

Keep the volume soft, avoid playing close to the ears for long and always let clients stop whenever they want.

Build Your Skills at Nepal Yoga Home

Want to learn singing bowl healing techniques with a teacher beside you? 

Choose a path for yourself as you want:

You can also combine sound with other skills in our 21-day wellness training, Reiki training or 200-hour Kundalini yoga training.

For quiet practice time, try our one-week breathing and meditation retreat or two-week meditation retreat in Kathmandu. If you cannot travel yet, our 3-hour online meditation is a gentle start. Workplace teams can also explore corporate yoga.

Practise Singing Bowl Healing Techniques With Us

Our yoga teachers can guide you in person, and our services and facilities page shows where you will stay. Read what past guests say on our testimonials page and check the FAQ. Contact us with any question, and book your stay when you are ready.

Frequently Asked Questions

How often can I practise at home?

A few short sessions each week are plenty at the start. Ten minutes is enough, and you can build from there.

Can I use these techniques on myself?

Yes, you can strike or rim a bowl while you sit or lie down. Keep it gentle and rest the bowl on a cushion or your open palm.

Do I need a set of bowls or just one?

One bowl is enough to learn striking and rimming. Add more later when you want to try layering.

Can I add these techniques to a yoga class?

Yes, many teachers use a bowl to open the class or to close with final rest. A short tone at the end of Savasana feels lovely.

Is a teacher better than videos?

Videos help with the basics, but a teacher can correct your touch and timing. Live feedback also builds your confidence faster.